
Installing and adjusting your seat post clamp is a crucial task that ensures your bike’s saddle remains securely in place during your ride. Whether you’re a casual rider or a more performance-driven cyclist, the seat post clamp holds your saddle at the right height and prevents unwanted movement. A well-secured seat post can significantly enhance comfort, stability, and safety on your rides. To achieve this, it’s essential to follow a few key steps to ensure that the clamp is installed and adjusted correctly. In this guide, we’ll walk you through how to properly install and adjust your seat post clamp, whether it’s a quick-release or bolt-on style, ensuring a stable and comfortable fit.
Tools You’ll Need
Before you begin, it’s important to gather the necessary tools to complete the installation process efficiently. Here’s a list of tools and items you’ll need:
-
Allen Key or Wrench (for bolt-on clamps): These tools are used to tighten or loosen the bolts in bolt-on seat post clamps.
-
Quick-Release Lever (for quick-release clamps): This lever is what you will use to adjust the seat height without the need for tools in the case of quick-release clamps.
-
Bike Grease (optional, but highly recommended): Applying a thin layer of bike grease to the seat post and seat tube can prevent them from seizing together over time. It also helps the parts slide smoothly and prevents rust buildup.
-
Cloth or Rag: To wipe down the seat tube, seat post, and clamp to ensure they’re clean and free of dirt or debris before installation.
Having all of these tools ready will make the installation process smoother and ensure that your clamp is installed securely and correctly.
Step-by-Step Guide: Installing and Adjusting Your Seat Post Clamp
1. Prepare Your Bike
The first step in installing and adjusting your seat post clamp is preparing your bike. Positioning your bike correctly will make the installation process easier and safer. If you have a bike stand, place the bike in the stand, ensuring it’s stable. If not, simply lean your bike against a sturdy surface.
-
Check the Seat Post: Before attaching the clamp, inspect the seat post for dirt or debris. Even a small amount of dirt can cause friction and make the clamp difficult to install or adjust. If necessary, clean the seat post and seat tube to ensure a smooth fit. Applying a small amount of bike grease to the seat tube and seat post will also help prevent the seat post from getting stuck in the future and will make adjustments smoother.
2. Install the Seat Post Clamp
Once your bike is prepared, it’s time to install the seat post clamp. The process will vary slightly depending on the type of clamp you’re using: quick-release or bolt-on.
For Quick-Release Seat Post Clamps:
-
Open the Quick-Release Lever: Start by opening the quick-release lever. This lever should be positioned on the outside of the bike frame. By opening it, you loosen the clamp and make it easier to fit onto the seat tube.
-
Slide the Clamp Onto the Seat Tube: With the lever open, slide the clamp onto the seat tube of your bike frame. The clamp should fit snugly around the seat tube, and the quick-release lever should be facing outward. Make sure the clamp is aligned properly, ensuring no twisting or misalignment.
-
Insert the Seat Post: Once the clamp is in place, slide the seat post into the seat tube. Adjust it to your desired height. A good practice is to set the saddle so that it’s level with the ground when you sit on the bike. Check for any tilting or misalignment at this point, as it will affect your ride comfort.
-
Close the Quick-Release Lever: After adjusting the seat post to the correct height, close the quick-release lever to secure the seat post in place. The lever should feel tight when closed, but not overly stiff. It should be difficult to move without applying some force, but it should still move with reasonable resistance. If the lever feels loose, you may need to adjust the nut on the opposite side of the lever to tighten it further.
For Bolt-On Seat Post Clamps:
-
Loosen the Bolt: Start by loosening the bolt that holds the clamp in place. Use the appropriate size Allen key or wrench to turn the bolt counterclockwise. This will create enough room for the clamp to slide onto the seat tube.
-
Slide the Clamp Onto the Seat Tube: Once the bolt is loosened, position the clamp around the seat tube. The clamp should sit evenly on the seat tube without any shifting. Make sure the bolt hole aligns with the bolt on the opposite side of the clamp.
-
Insert the Seat Post: With the clamp in place, insert the seat post into the seat tube and adjust it to the desired height. Pay attention to the saddle’s angle to ensure comfort. You can set it slightly tilted or level, depending on your preference and riding style.
-
Tighten the Bolt: After adjusting the seat post, use your Allen key or wrench to tighten the bolt securely. Be careful not to overtighten, as doing so could damage the clamp or frame. The bolt should be snug enough to hold the seat post firmly in place without risk of it moving during your ride.
3. Adjust the Seat Height
Once the seat post clamp is installed, you may want to make final adjustments to your seat height. Adjusting your seat height to the correct position is crucial for your comfort and overall riding experience.
-
For Quick-Release Clamps: If you need to adjust the seat height, simply open the quick-release lever and move the seat post up or down to the desired position. After making the adjustment, close the lever securely to lock the seat post in place.
-
For Bolt-On Clamps: If you need to adjust the seat height with a bolt-on clamp, loosen the bolt, adjust the seat post to the correct height, and then tighten the bolt again to secure the position. Ensure that the seat post is not loose in the frame after the adjustment.
4. Check for Tightness and Stability
After adjusting the seat post clamp, perform a quick check to ensure that everything is secure.
-
For quick-release clamps, check that the lever feels tight when closed. It should require some force to move, but not be overly stiff.
-
For bolt-on clamps, ensure the bolt is properly tightened and that the seat post feels secure. If you feel any movement or wobbling, retighten the bolt carefully.
5. Test the Seat Post
Before heading out on a ride, take a moment to test the seat post. Try to move the seat post up and down by hand. If it feels loose, go back and adjust the clamp to tighten it. If it feels too tight, loosen it slightly to ensure that you can still make future adjustments with ease.
6. Regularly Check Your Seat Post Clamp
It’s important to regularly inspect your seat post clamp, especially after long or rough rides. Quick-release clamps may require occasional tightening, as they can loosen over time, particularly on bumpy terrain. Bolt-on clamps are typically more stable and require less frequent attention but should still be checked regularly for wear and tear.
-
Inspect for Wear: Check for any visible damage to the clamp, such as cracks, bent bolts, or worn-out areas. If you notice any signs of damage, it’s time to replace the clamp to ensure your safety.
-
Clean and Maintain: Regularly clean your seat post clamp and apply a small amount of bike grease to the seat post and seat tube to maintain smooth operation.
Final Thoughts on Seat Post Clamp Installation
Properly installing and adjusting your seat post clamp is essential for ensuring a safe, stable, and comfortable ride. Whether you choose a quick-release clamp for tool-free adjustments or a bolt-on clamp for added security, it’s crucial to ensure that the clamp is installed correctly and that the seat post is securely in place. Regular maintenance and inspections will also help extend the life of your seat post clamp, ensuring that your bike remains in top condition.
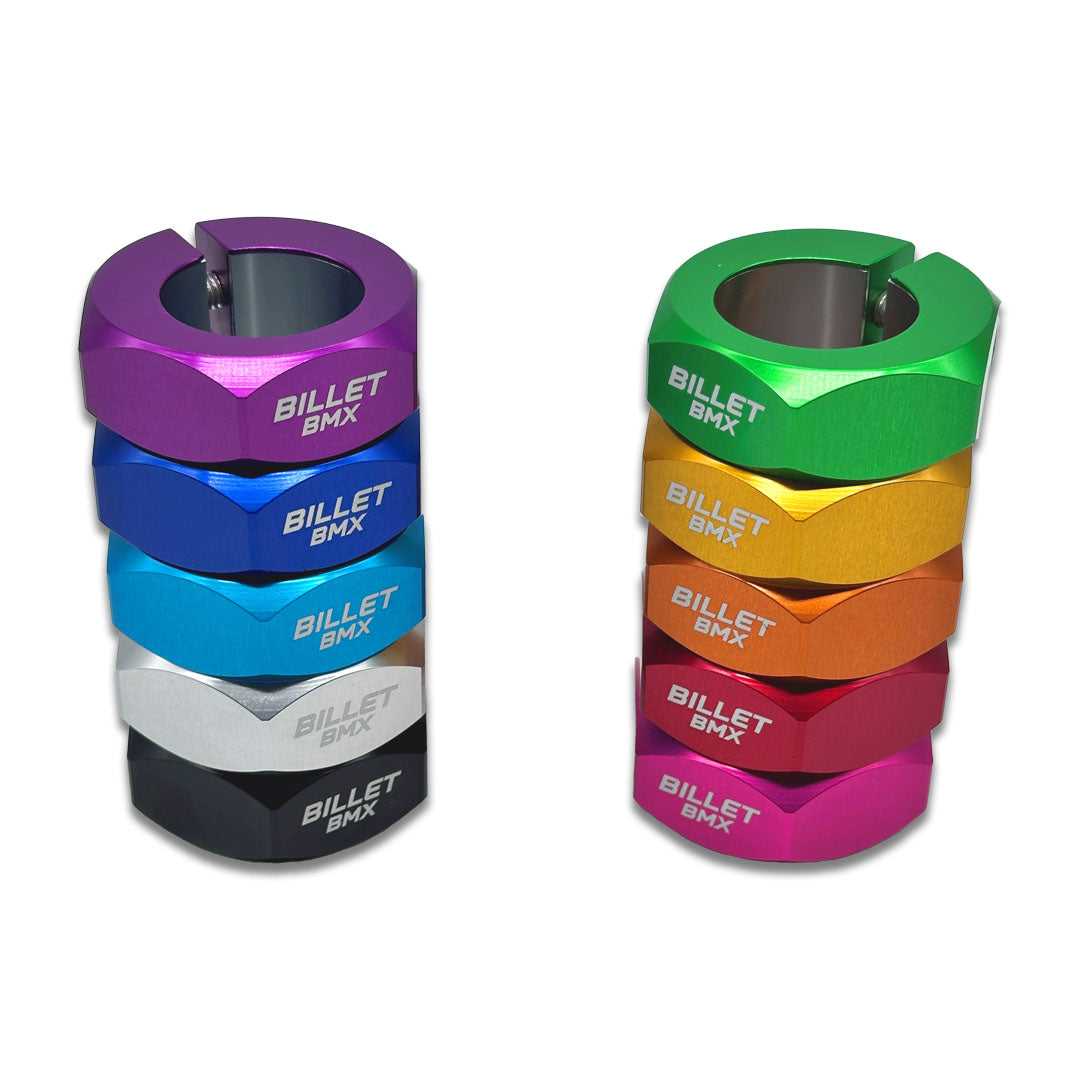
Billet BMX offer a range of high-quality seat post clamps that cater to different riding needs and preferences. Browse our collection to find the perfect clamp that suits your bike and enhances your riding experience.


