
A well-maintained seat post clamp is essential for a smooth and comfortable ride. Whether you ride a BMX, mountain bike, or road bike, keeping your seat post clamp in top condition prevents unwanted saddle movement and enhances overall stability. Neglecting maintenance can lead to discomfort, poor performance, and even potential safety hazards. If your seat post clamp is not properly maintained, it can cause your saddle to shift unexpectedly, leading to an uncomfortable riding position or even accidents. In this guide, we’ll cover the best practices for maintaining your seat post clamp to ensure your saddle stays secure, helping you ride with confidence and efficiency.
What Is a Seat Post Clamp and Why Does It Matter?
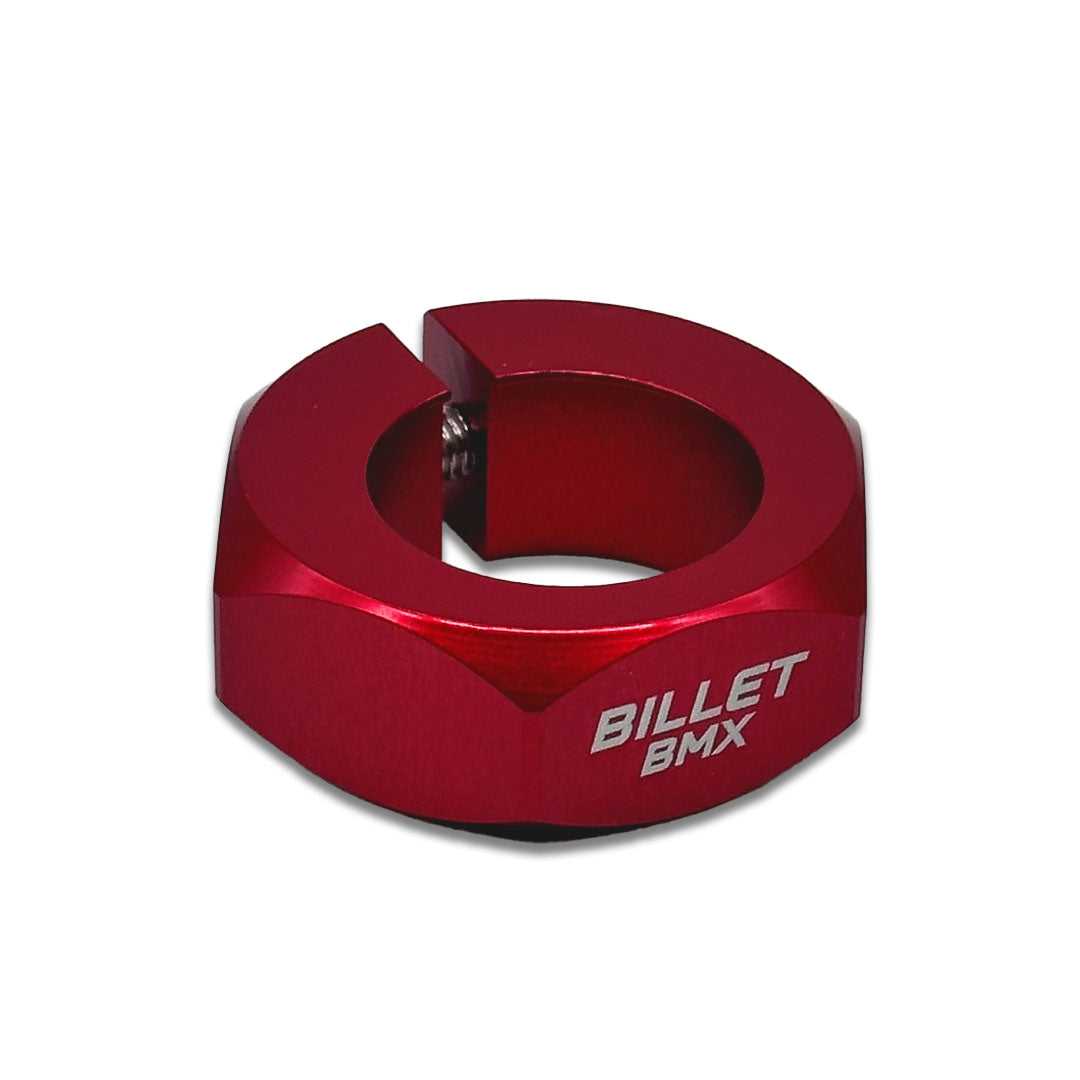
A seat post clamp is a small but crucial component of your bike that secures the seat post in place. It ensures your saddle remains at the desired height, providing comfort and efficiency during rides. A loose or faulty seat post clamp can lead to instability and a frustrating riding experience, affecting both performance and safety.
There are two common types of seat post clamps:
-
Quick-release clamps – Ideal for riders who frequently adjust their saddle height. These clamps use a lever mechanism for easy tightening and loosening, making them perfect for those who need on-the-go adjustments without the use of tools.
-
Bolt-on clamps – Offer a more secure fit, requiring a tool (usually an Allen key) for adjustments. These clamps are preferred for riders who need a more permanent and firm seat post grip, ensuring the saddle stays in position for longer periods.
Choosing the right seat post clamp for your bike is essential for ensuring a snug and reliable grip on your seat post, preventing any unexpected movement that could impact your ride.
Common Signs Your Seat Post Clamp Needs Maintenance
Regular maintenance is necessary to keep your BMX seat post clamp functioning correctly. Here are some telltale signs that indicate your clamp may need attention:
Saddle Slipping
If your saddle suddenly lowers while riding, the seat post clamp might not be providing adequate grip. This could be due to improper tightening, wear and tear, or internal dirt buildup. A slipping saddle can not only make your ride uncomfortable but also cause strain on your legs as you struggle to maintain proper posture and pedaling efficiency.
Loose or Worn Bolts
Over time, bolts may become loose or stripped, reducing the clamp’s ability to hold the seat post securely. Checking and tightening the bolts regularly can prevent this issue. If the bolts are worn out, replacing them with high-quality, corrosion-resistant alternatives can significantly improve the performance and longevity of your seat post clamp.
Rust or Corrosion
Exposure to moisture and dirt can cause the seat post clamp to rust, affecting its performance. Corroded parts should be cleaned or replaced to maintain a firm hold. Rust not only weakens the clamp's structural integrity but also makes adjustments more difficult, as seized bolts or levers can prevent smooth operation. Regular inspections can help identify rust before it becomes a major issue.
Dirt and Debris Accumulation
Mud, dust, and grime can settle around the clamp, reducing friction and weakening the grip. Keeping the clamp clean is crucial for proper function. Dirt buildup can also cause unnecessary friction between the seat post and the frame, leading to potential damage over time. Routine cleaning ensures that your seat post clamp operates smoothly and securely.
Step-by-Step Guide to Maintaining Your Seat Post Clamp
Proper maintenance of your seat post clamp involves regular inspections, cleaning, lubrication, and tightening. Follow these steps to ensure your saddle remains secure.
Step 1: Inspect the Seat Post Clamp Regularly
-
Check the clamp every few weeks or after long rides. Frequent checks can help identify issues before they lead to significant problems.
-
Look for signs of wear, rust, or looseness. A quick glance and feel can alert you to any potential issues.
-
Ensure the bolts are intact and not stripped. If the bolts feel rough when adjusting, consider replacing them before they become completely unusable.
Step 2: Clean the Seat Post Clamp Properly
-
Gather necessary tools: clean rag, degreaser, soft brush, and grease.
-
Remove the seat post clamp and wipe off any dirt or grime. Make sure to get into the smaller crevices where dirt tends to accumulate.
-
Use a degreaser to remove any stubborn buildup. Let it sit for a few minutes before scrubbing with a soft brush.
-
Dry the clamp completely before reassembly to prevent rust. Moisture is one of the main contributors to rust, so ensuring a dry clamp is crucial for longevity.
Step 3: Lubricate the Seat Post and Clamp
-
Apply a light layer of grease to the seat post clamp to prevent rust. A thin coating ensures smooth operation without attracting excessive dirt.
-
Use anti-seize lubricant if you frequently adjust the seat height. This prevents metal-on-metal binding, making future adjustments effortless.
-
Avoid over-lubrication, as excess grease can attract dirt, which can cause additional issues over time.
Step 4: Tighten the Seat Post Clamp Correctly
-
Use a torque wrench or Allen key to tighten the clamp according to manufacturer recommendations. Over-tightening can damage the frame or seat post, while under-tightening can lead to slipping.
-
Ensure the saddle height is set correctly before securing the clamp. Adjusting after tightening can cause unnecessary stress on the clamp mechanism.
-
Regularly check the clamp’s tightness, especially after intense rides or rough terrain, as vibrations can loosen the bolts over time.
Preventive Maintenance Tips for Longevity
Regular maintenance can extend the life of your seat post clamp and prevent unexpected issues. Follow these preventive tips:
-
Avoid Over-tightening: Excessive force can cause damage to the frame or clamp, leading to cracks or permanent deformation.
-
Use the Right Clamp Size: A properly fitted seat post clamp ensures a firm grip and prevents slipping, reducing the likelihood of sudden saddle shifts.
-
Check for Cracks or Damage: Inspect the clamp periodically and replace it if cracks or excessive wear are present. A damaged clamp can fail unexpectedly, posing a safety risk.
-
Store Your Bike in a Dry Place: Moisture exposure can lead to rust, so keeping your bike indoors or using a protective cover can help prolong the lifespan of your seat post clamp.
When to Replace Your Seat Post Clamp
Even with proper maintenance, a seat post clamp may eventually need replacement. Here are signs that indicate it’s time for a new clamp:
-
Cracks or Structural Damage: A cracked clamp can no longer provide adequate support and should be replaced immediately to avoid sudden failures.
-
Stripped Bolts: If bolts no longer tighten securely, replacing the clamp is the best solution. Stripped bolts can compromise the clamp’s ability to hold the seat post securely.
-
Excessive Corrosion: Rust can weaken the clamp, making it unreliable. If rust has deeply penetrated the clamp’s structure, it’s safer to replace it rather than risk failure.
Choosing the Best Replacement
When selecting a new seat post clamp, consider factors like material, size, and durability. Billet aluminum seat post clamps are a great option for strength and longevity, particularly for BMX, MTB, and road bikes. Investing in a high-quality clamp ensures better performance and long-term reliability.
Conclusion
Maintaining your seat post clamp is essential for keeping your saddle secure and your rides comfortable. Regular inspections, cleaning, lubrication, and proper tightening can prevent common issues such as slipping and rust. If your seat post clamp shows signs of wear, replacing it with a high-quality alternative ensures a stable and enjoyable cycling experience.
For durable and reliable seat post clamps, explore Billet BMX and upgrade your bike’s performance today!


