BMX bikes are built for speed, stunts, and rugged terrains, but a solid braking system is essential for both performance and safety. While BMX brakes are designed to be lightweight and efficient, they can occasionally present issues that hinder performance. In this guide, we’ll discuss common BMX brake problems, explain the types of brakes typically found on BMX bikes, and provide tips on BMX brake replacement. A properly maintained BMX brake kit not only ensures your safety but also enhances your confidence during rides.
What Type of Brakes Are on BMX Bikes?
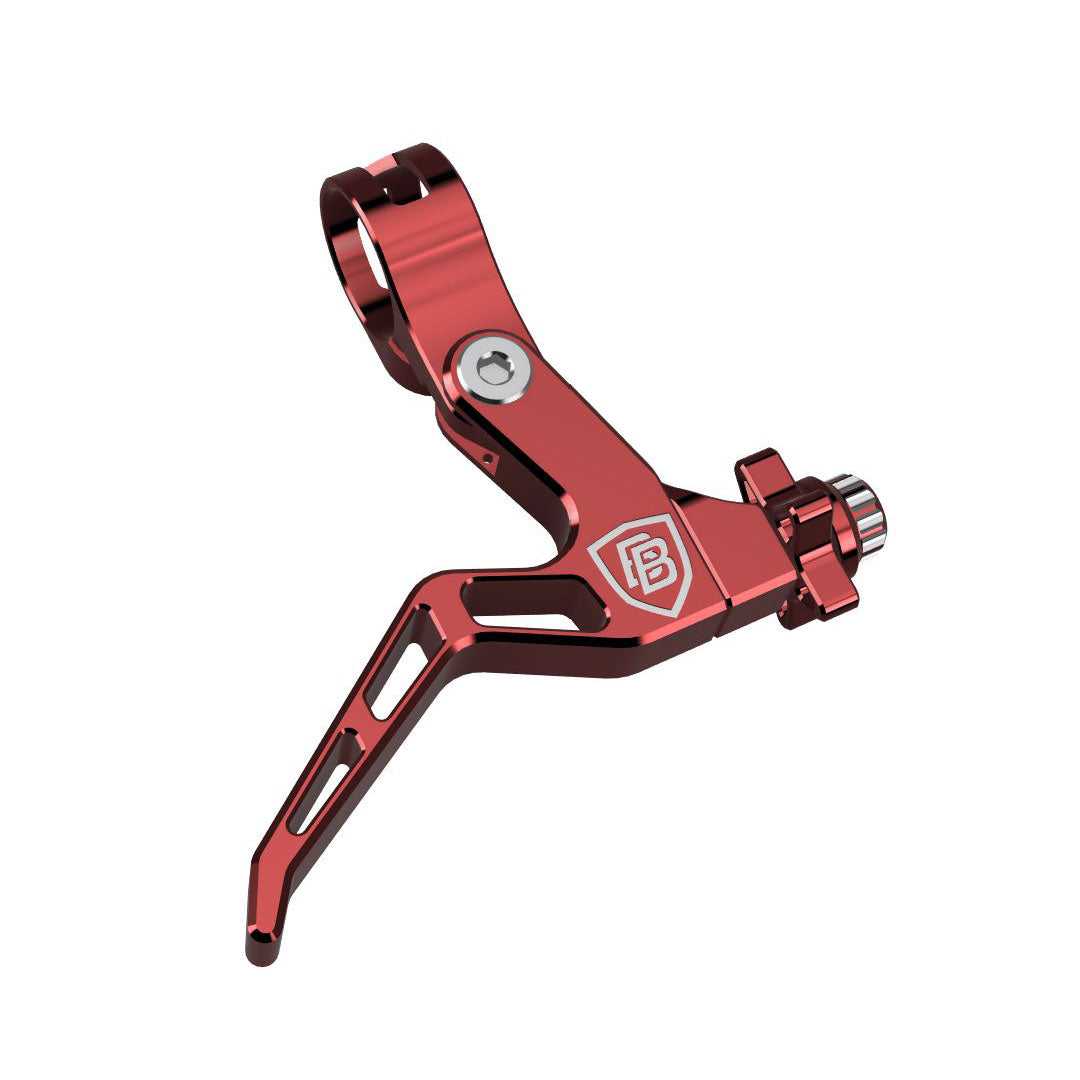
BMX bikes generally feature one of the following brake types:
1. U-Brakes
U-brakes are the most common type found on freestyle BMX bikes. Known for their compact design and durability, these BMX brakes are mounted on the seat stays or chain stays, making them ideal for trick-heavy riding. The compact structure of U-brakes allows riders to perform stunts without interference, while their robust construction ensures they can withstand significant impact during freestyle activities.
2. Caliper Brakes
Caliper brakes are often used on race BMX bikes. They offer excellent stopping power but are less durable than U-brakes for freestyle or dirt riding. These BMX brakes are lightweight and efficient, making them a preferred choice for riders who focus on speed and precision. However, their design makes them less suitable for intense off-road conditions.
3. V-Brakes
While not as common, V-brakes are sometimes found on BMX bikes. They offer strong stopping power and are relatively easy to maintain but may interfere with stunt pegs. V-brakes are a good option for riders who need reliable performance on diverse terrains without prioritizing tricks. Choosing the right BMX brake kit can improve compatibility and performance.
4. Disc Brakes
Disc brakes are rare on traditional BMX bikes but are occasionally used in custom setups. These BMX brakes provide superior stopping power and are great for racing but add extra weight. Disc brakes are ideal for riders who value consistent braking performance in all weather conditions, even though they are less common due to their added complexity.
Understanding the type of brakes on your BMX bike is the first step to identifying and resolving brake issues. Choosing the right BMX brake kit for your riding style can greatly influence your overall experience.
Common BMX Brake Problems
Even with high-quality BMX brakes, BMX bikes can encounter several braking issues. Here are some of the most common problems and how to fix them:
1. Squeaky Brakes
Problem: Brakes making loud squealing noises when applied.
Cause: This can result from dirt buildup, misaligned brake pads, or worn pads. Dirt and grime accumulating on the brake pads and rims are often the culprits, especially after riding in wet or dusty conditions.
Solution: Clean the rims and brake pads with isopropyl alcohol. Adjust the brake pad alignment to ensure proper contact with the rim. Replace the pads if they are worn. Regular cleaning and alignment checks can help prevent this issue from recurring. Using a high-quality BMX brake kit can reduce the likelihood of squeaky brakes.
2. Weak Braking Power
Problem: Brakes feel soft or fail to stop the bike effectively.
Cause: Loose cables, worn brake pads, or contaminated braking surfaces. Weak braking can also result from improper cable tension or low-quality pads that wear out quickly under heavy use.
Solution: Tighten the brake cables and inspect for any fraying. Replace the brake pads if necessary. Clean the braking surface to remove oil or dirt. For improved performance, consider upgrading to a high-quality BMX brake kit designed for BMX brakes.
3. Brake Lever Feels Stiff
Problem: Difficulty in pulling the brake lever.
Cause: Rusty or frayed cables, or a lack of lubrication. Over time, cables can become corroded, leading to stiffness in the brake mechanism.
Solution: Inspect the cables for rust or damage. Replace them if needed. Lubricate the cable housing for smoother operation. Regular maintenance of BMX brakes can prevent stiffness and ensure seamless brake lever action.
4. Brakes Rubbing Against the Rim
Problem: Brakes stay engaged even when not in use.
Cause: Misaligned brakes or over-tightened cables. This issue can also stem from warped rims or improperly adjusted calipers.
Solution: Adjust the brake calipers to ensure even spacing from the rim. Loosen the cables slightly for proper clearance. If the rim is warped, consider truing it to restore proper alignment. Replacing old components with a new BMX brake kit can resolve persistent issues.
Tips for BMX Brake Replacement
If your BMX brakes are beyond repair or showing significant wear, replacement might be the best option. Here are steps to guide you through the process:
1. Choose the Right Brake Type
Select a BMX brake kit compatible with your bike and riding style. For instance, U-brakes are ideal for freestyle, while caliper brakes suit racing setups. Understanding your specific needs ensures you get the most suitable and effective BMX brake system.
2. Gather Necessary Tools
You’ll need tools like an Allen wrench set, cable cutters, and a screwdriver to replace your BMX brakes effectively. Having the right tools ensures a hassle-free installation process and reduces the risk of errors.
3. Remove the Old Brakes
Unscrew the mounting bolts and carefully detach the brake cables. Make sure to note the placement and setup for reference during installation. Taking pictures during the removal process can help you replicate the correct setup.
4. Install the New Brakes
Align the new BMX brakes with the mounting points and secure them with bolts. Attach the brake cables and adjust the tension for optimal braking performance. Proper alignment and tension adjustment are crucial for achieving smooth and responsive braking.
5. Test the Brakes
Before riding, test the BMX brakes by applying them at different speeds to ensure they’re functioning correctly. Testing ensures your safety and confirms that the new BMX brake kit is working as intended.
Preventing BMX Brake Problems
To keep your BMX brakes in top condition, follow these maintenance tips:
- Regular Cleaning: Remove dirt and debris from brake pads, rims, and cables after every ride. Clean components function more efficiently and last longer.
- Inspect for Wear: Check brake pads and cables regularly and replace them as needed. Early detection of wear can prevent sudden brake failures during rides.
- Lubricate Cables: Use a bike-specific lubricant to ensure smooth BMX brake operation. Proper lubrication minimizes friction and extends the life of your cables.
- Tighten Bolts: Ensure all bolts are securely fastened to prevent loose parts. Loose bolts can compromise the stability and effectiveness of your BMX brake kit.
Where to Buy BMX Brake Kits and Replacement Parts
If you’re looking to upgrade or replace your BMX brakes, Billet BMX offers a wide range of BMX brake kit and parts. With competitive pricing and high-quality products, it’s your go-to destination for all BMX brake needs. Whether you’re a professional rider or a beginner, Billet BMX has the perfect options to suit your requirements.
Final Thoughts
BMX brakes are a critical component of your bike, ensuring safety and performance. By understanding the types of brakes, common problems, and replacement tips, you can keep your BMX brakes in peak condition. Regular maintenance and timely replacements will not only enhance your riding experience but also prolong the life of your bike. Explore Billet BMX’s collection today to find the perfect BMX brake kit for your needs. With the right BMX brakes and proper care, you can focus on what matters most—enjoying the thrill of every ride.


