How to Replace Bike Axle Nuts – Step-by-Step Guide

Axle nuts might seem like small components, but they play a vital role in keeping your BMX bike performing safely and smoothly. Over time, these nuts can wear down, become stripped, or rust especially if you ride aggressively or often in rough conditions. Whether you're replacing damaged parts or upgrading for a better look and feel, knowing how to replace bike axle nuts is a must-have skill for every rider. In this guide, we’ll walk you through the step-by-step process to change your BMX axle nuts efficiently and safely.
Why Replacing Axle Nuts Is Important
Replacing axle nuts isn’t just about aesthetics although upgrading to anodized or billet aluminum axle nuts definitely boosts your bike’s style. Worn or stripped nuts can compromise your wheel’s stability, potentially leading to unsafe riding conditions. Rusted nuts can be difficult to remove, especially when they seize up on your axle. Plus, fresh BMX axle nuts ensure better torque, proper wheel alignment, and improved long-term durability.
Step-by-Step: How to Replace Bike Axle Nuts
Step 1: Prepare Your Work Area
Place your bike on a stand or flip it upside down for easy access to the wheels. Make sure your work area is stable and well-lit.
Step 2: Remove the Old Axle Nuts
Using a 15mm wrench or the correct socket size:
-
Turn the nuts counterclockwise to loosen.
-
Remove the old nuts from both sides of the axle.
-
If you're using pegs, slide them off carefully as well.
Tip: If the nuts are rusted or stuck, apply a little penetrating oil and wait a few minutes.
Step 3: Clean the Axle Threads
Before installing new nuts, wipe the axle threads clean with a rag. Apply a small amount of grease or anti-seize compound to prevent seizing and make future removal easier.
This step also protects against rust and ensures smooth threading.
Step 4: Install the New Axle Nuts
Slide the new BMX axle nuts onto the threads. Make sure the nuts are compatible with your axle diameter (usually 3/8" or 14mm for BMX bikes).
-
Hand-thread the nut on first to prevent cross-threading.
-
Then use the wrench to tighten clockwise until snug.
-
If using pegs, position them before fully tightening.
Important: Do not overtighten, as it may strip threads or damage the axle.
Step 5: Check Wheel Alignment and Tighten
Make sure your wheel is centered in the dropouts before fully tightening the nuts. Uneven alignment can cause chain tension issues and poor handling.
Once aligned, tighten both sides securely. Give the wheel a spin to ensure it moves freely without wobbling.
Step 6: Final Safety Check
- Double-check tightness on both axle nuts.
- Test ride your bike gently to make sure everything feels stable.
- Recheck tightness after your first ride.
Custom Axle Nuts from Billet BMX
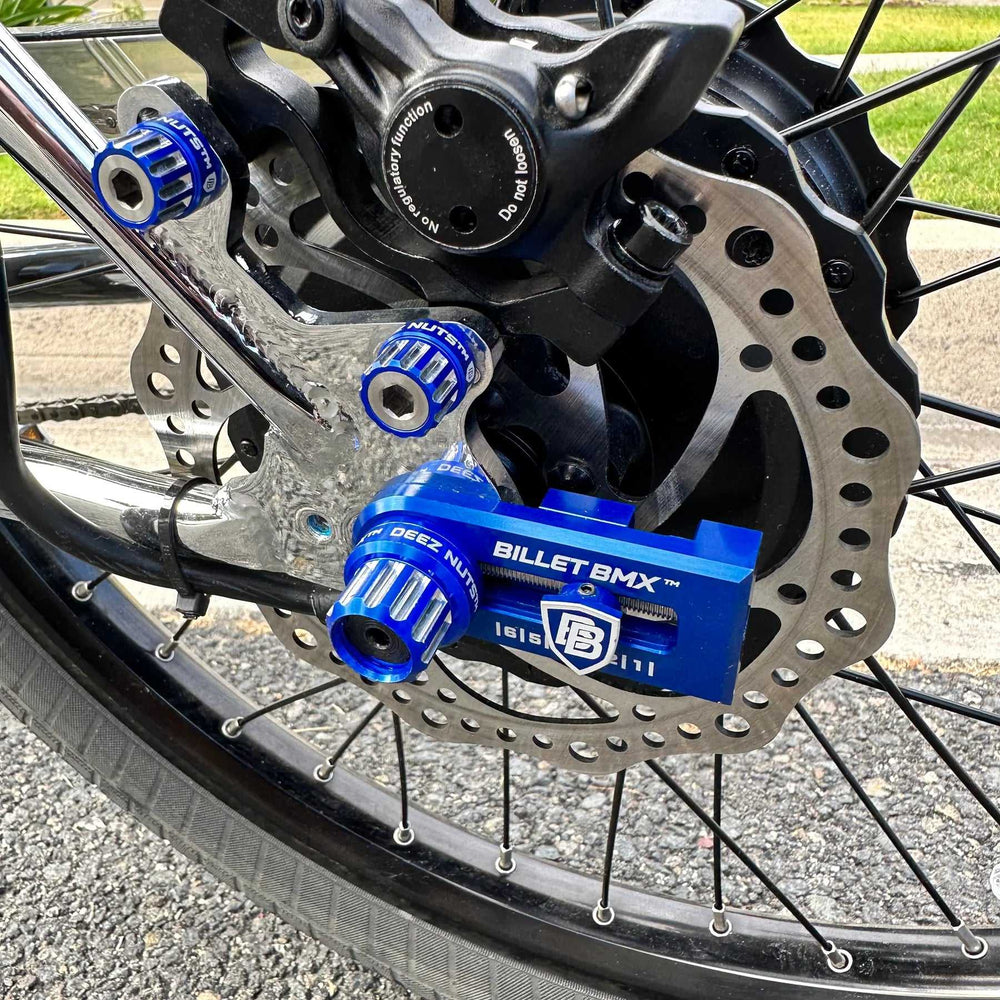
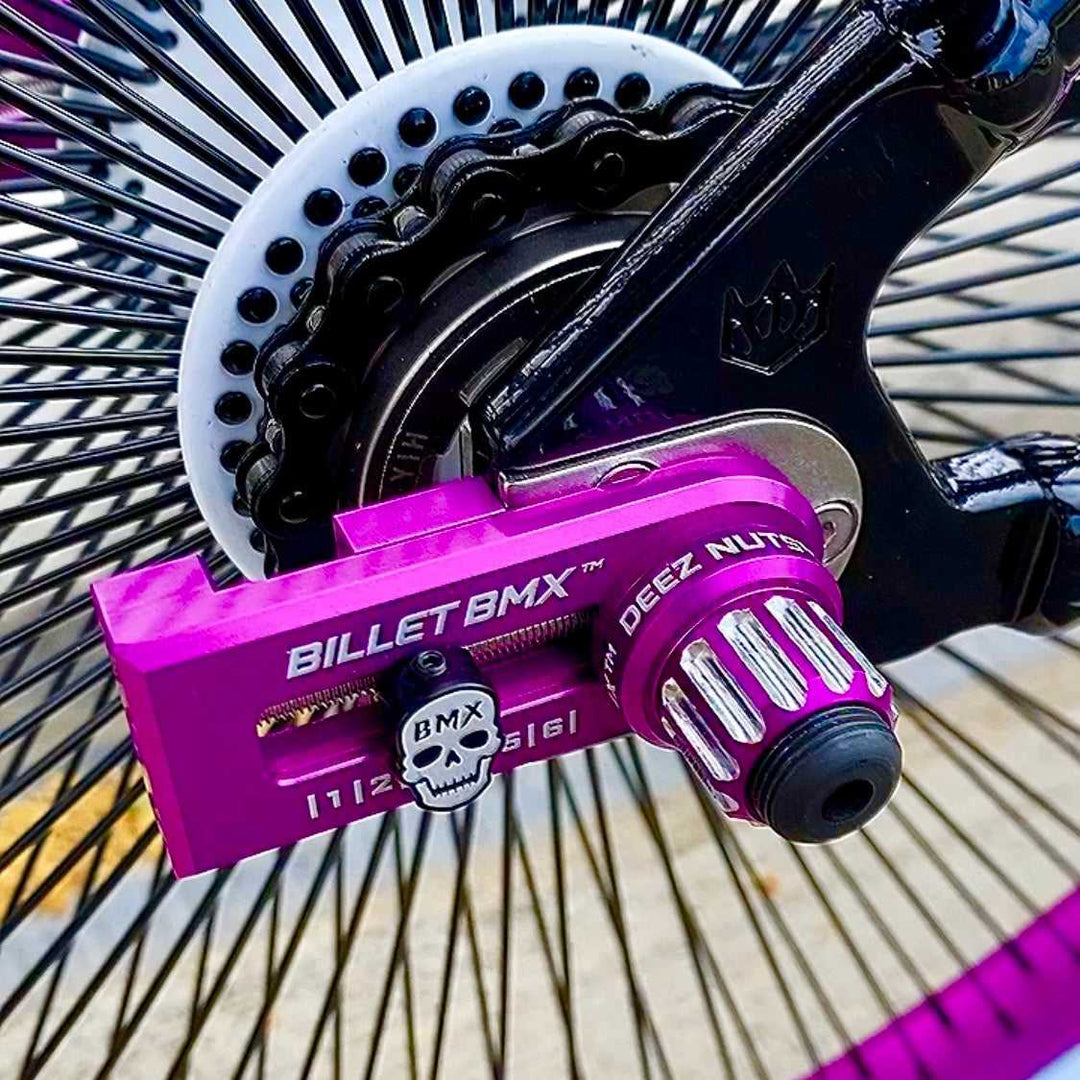
Upgrading your bike isn’t just about performance it’s also about personal style. Billet BMX offers a wide range of high-performance BMX axle nuts made from billet aluminum and finished in vibrant anodized colors. Whether you’re looking for 3/8” or 14mm options, our axle nuts are built to withstand hard riding while looking clean and polished. Match them to your bike’s color scheme or go bold with contrasting hues for a fully custom setup.
Final Thoughts
Learning how to replace bike axle nuts is a quick and easy way to keep your BMX ride safe, dialed in, and looking its best. Whether you’re maintaining your current setup or giving your bike a visual refresh with new components, axle nuts are a simple but essential part of your maintenance routine. With just a few tools and the right parts, you can complete the job in minutes and ride confidently knowing your wheels are locked in tight.


