
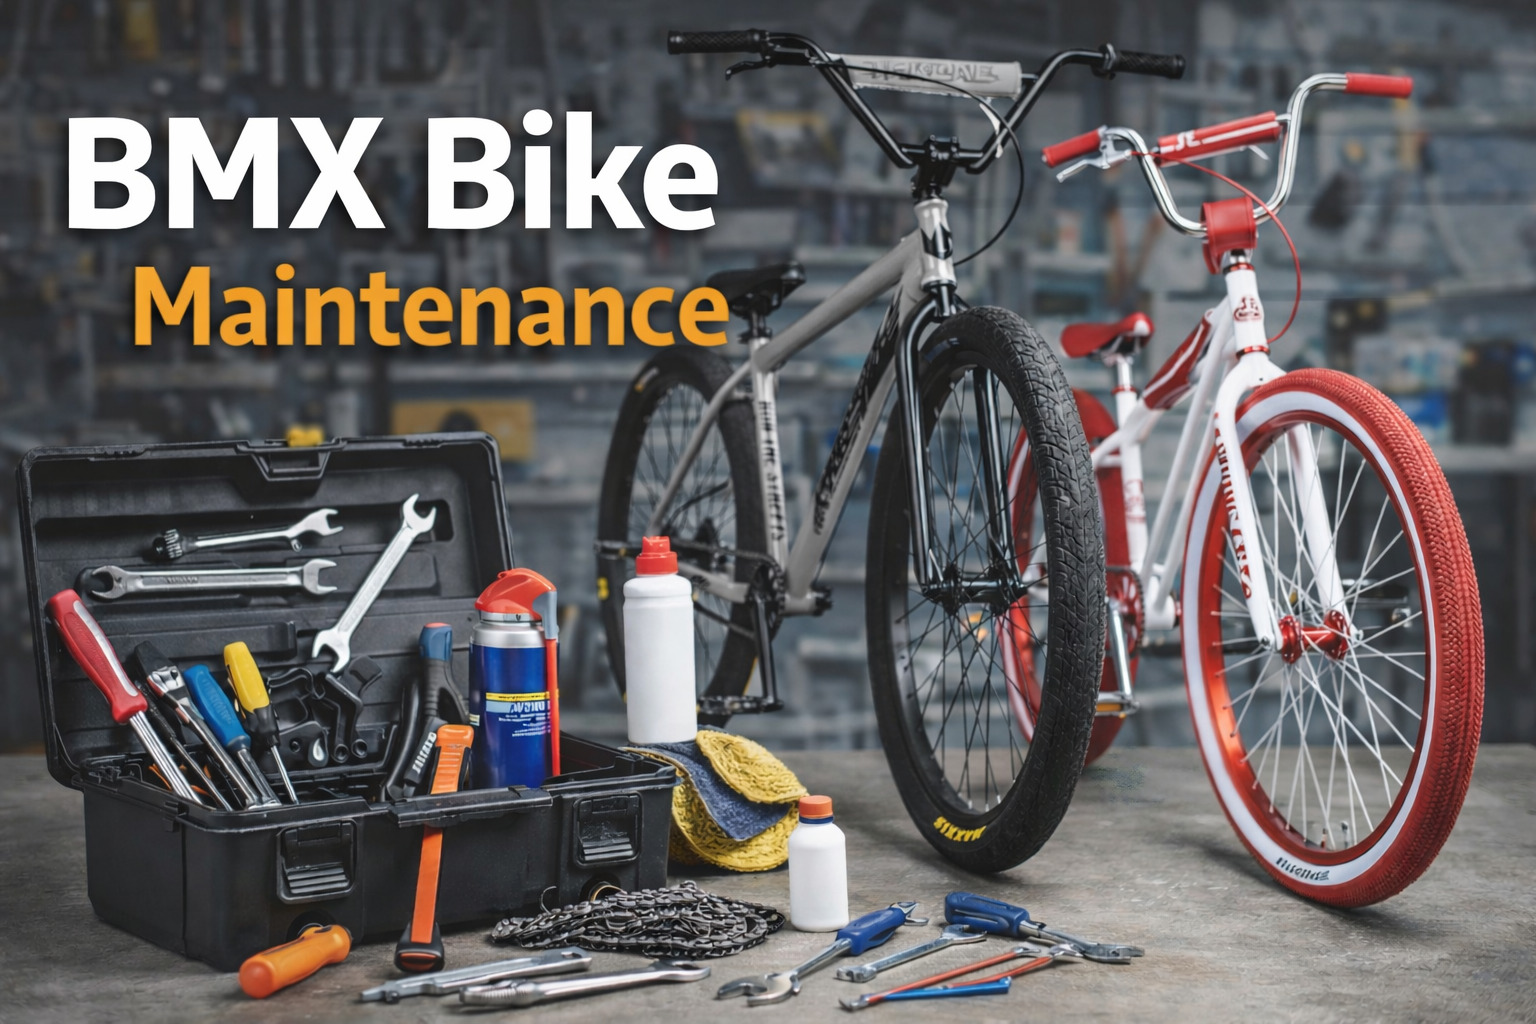
The best session you'll ever have is on a bike that's completely dialed. No clicking headset, no spongy brake, no chain skipping under load. Most riders only think about maintenance when something goes wrong and every one of those situations is avoidable. Preventing them takes a fraction of the time dealing with them does.
This guide covers the maintenance habits, repairs, and BMX maintenance tools every rider should have on hand. When parts need replacing — axle nuts, headset bearings, grips, or seat post clamps Billet BMX stocks quality replacement parts and tools organized by bike model at billetbmx.com. Right part, right fit, no guessing.
The Pre-Session Check That Takes Five Minutes and Saves Hours
Before every single ride, run through the same quick inspection. It sounds simple because it is — but most riders who skip it are the same ones dealing with avoidable problems mid-session.
Start with your tires. Squeeze them with your thumb — they should feel firm with no give. Soft tires pinch flat on impacts and handle loosely on technical lines. Check the sidewalls for any cracking or cuts from previous sessions. A tire that looks fine from a distance sometimes tells a different story up close.
Move to your wheels. Spin each one and watch it turn. Any wobble means a spoke needs attention. Grab the wheel and try to rock it side to side in the dropout — any movement there means your axle nuts need tightening. Loose wheels affect everything from how the bike tracks to how stable you feel on landings.
Check your stem bolts and handlebar clamp. These work loose from vibration and hard landings faster than most riders expect. A stem bolt that's backed off even slightly changes how your bars feel and creates play that makes technical tricks harder. Five seconds with an Allen key keeps everything snug.
Squeeze your brake lever last. It should engage firmly within the first third of travel and release cleanly when you let go. If it pulls all the way to the bar before anything happens, your cable needs adjustment. If it feels spongy or inconsistent, check your pads — they may have worn close to the metal holder underneath.
Monthly Deep Clean — What Actually Matters
Once a month, give your bike a proper clean rather than a quick wipe down. Dirt and grime work their way into every moving part on a BMX bike bearing, pivots, brake pivots, chain links and accelerate wear on all of them.
Soap and water handles most of the cleaning job. A soft brush gets into the chain and sprocket teeth where grime packs in tightest. Avoid pressure washing. High pressure forces water into headset bearings, bottom bracket, and wheel hubs, which causes rust and premature bearing failure from the inside out.
BMX chain maintenance is the one monthly task that pays off the most. A dirty chain wears itself and your sprocket simultaneously. Clean it with a rag and mild degreaser, dry it completely, then apply a light coat of chain lubricant and wipe off the excess. A clean, lubricated chain runs quietly, shifts cleanly, and lasts significantly longer than one that's left to accumulate grime session after session.
After cleaning, check every bolt on the bike while it's clean and dry. Loose hardware is easier to spot on a clean frame. Tighten anything that's moved and note anything that keeps coming loose repeated loosening usually means a thread is starting to strip or a component is wearing out.
Quarterly Component Checks — Catching Problems Early
Every three months, go deeper than your weekly inspection. These checks take about twenty minutes and catch the kind of wear that develops gradually and is easy to miss session to session.
Check your headset by applying your rear brake and rocking the bike forward and back with both hands on the bars. Any knocking or movement you can feel through the bars means the headset needs adjustment or the bearings need replacement. A worn headset makes your whole front end feel vague and kills confidence on technical riding.
Check your bottom bracket by grabbing both crank arms and trying to rock them side to side. Any lateral movement means the bottom bracket bearings are worn. A loose bottom bracket develops into a creaking, unstable feeling under pedaling that gets worse fast if ignored.
Check your brake pads by looking at how much rubber remains above the metal holder. When the pad surface wears close to the metal, stopping power drops and rim damage follows quickly. Pads are cheap. Rims are not. Replace them before they're fully worn.
Check your axle nuts last. Stock axle nuts round off and strip with regular wrench use and a stripped axle nut that can't be properly torqued is a wheel security problem waiting to happen. The Billet BMX Deez Nuts 12-point billet aluminum axle nuts are the straightforward upgrade here, the 12-point profile gives significantly more wrench contact surface and the billet construction holds up to repeated adjustments without failing. Replace stock axle nuts early and you won't think about them again.
Basic Repairs Every Rider Should Handle Themselves
You don't need to be a mechanic to keep a BMX bike running well. These three repairs cover the vast majority of issues that come up during regular riding.
Flat tires are the most common. Carry a spare tube, two tire levers, and a pump whenever you ride. Practice removing and reinstalling your wheel and tire at home before you need to do it at the skatepark under time pressure. The process takes about ten minutes once you've done it a few times and knowing you can handle a flat means a puncture doesn't end your session.
Brake cable adjustment is something every rider should be able to do without a trip to the shop. Most brake systems have a barrel adjuster where the cable meets the lever turning it counterclockwise adds tension and brings the pads closer to the rim. If the adjuster is maxed out, you need to reset the cable tension at the anchor bolt and start the adjustment process fresh. Clean, properly tensioned cables make a brake feel confident and responsive every time you use it.
Wheel truing fixing a slight wobble in your wheel is worth learning the basics of even if you leave serious work to a shop. A spoke key and a few minutes of careful adjustment can fix minor wobbles that develop from riding. Turn a spoke nipple clockwise to tighten a spoke and pull the rim toward that side. Small adjustments, check frequently, and never force anything.
Seasonal Care — What Changes Through the Year
Different seasons create different problems for BMX bikes and most riders handle all of them the same way, which is a mistake.
Winter riding exposes every metal part on your bike to moisture and often salt from treated surfaces. Clean your bike after every winter session rather than monthly. Apply a slightly heavier lubricant to your chain standard chain lube evaporates faster in cold and wet conditions. Store your bike indoors whenever possible. A bike stored in a damp garage through winter develops rust in bearing surfaces, cable housings, and frame joints that shortens the life of every component.
Summer heat affects tire pressure more than most riders account for. Hot pavement increases air pressure inside the tube — a tire that was properly inflated in the morning can become overinflated by midday on a hot day. Check pressure before every summer session and run slightly lower pressure than you would in cooler conditions. Inspect your brake pads and grips for sun damage if the bike spends time outdoors between sessions — both rubber compounds degrade faster under UV exposure.
Wet conditions in spring and fall demand extra attention to brake performance specifically. Wet rims cut stopping power dramatically regardless of how good your brake setup is. Wipe your rims down before riding if they're wet and give yourself more braking distance until they dry out under use. Consider slightly lower tire pressure in wet conditions — it increases the contact patch and improves traction on slippery surfaces.
Riding Tips That Actually Build Skills Faster
Maintenance keeps your bike ready. How you approach riding determines how fast you progress.
The single most effective thing most beginner and intermediate riders can do is slow down the progression timeline deliberately. Tricks learned properly at a lower level translate cleanly to harder tricks later. Tricks rushed before the foundation is solid create bad habits that take longer to unlearn than they took to develop in the first place.
Film yourself riding. Your perception of what you're doing and what's actually happening are often different, especially on tricks that happen fast. A phone propped against a fence gives you information that coaching sessions and verbal feedback can't match. Watch the footage, identify what's off, fix one thing at a time.
Build your bunny hop before you build anything else. Every trick that involves leaving the ground barspins, tailwhips, 360s, gaps starts with a proper bunny hop. Front wheel up first, then back wheel up, compression through the legs, full commitment. A rider with a clean 24-inch bunny hop can learn new tricks faster than a rider with a sloppy 36-inch hop every time.
Set a goal for each session before you get there. Open-ended sessions where you just ride whatever feels right are valuable for enjoying riding, but they're not efficient for building specific skills. Fifteen focused minutes on one trick teaches more than two hours of casual riding.
Know when to stop. Trying the same trick past the point where your body and focus are fresh doesn't build skill, it builds a crash. The best riders know when a session is done and come back the next day ready to work again.
Keep Your Bike Dialed and Your Skills Sharp
A maintained bike and a deliberate approach to riding development work together. When you trust your equipment completely, no mechanical surprises, no components you're worried about your focus goes entirely to riding. And when your focus goes entirely to riding, you progress faster, enjoy it more, and stay safer doing it.
Shop Billet BMX replacement and upgrade parts organized by bike model so you find the right parts for your specific setup without guessing at compatibility.
FAQs :-
Q: How often should I do a full BMX bike maintenance check?
Quick check before every session, deep clean monthly, full component inspection every three months. That schedule keeps most problems caught before they affect your riding or safety.
Q: What is the first thing to upgrade on a stock BMX bike?
Axle nuts first. Stock ones strip with regular wrench use and affect wheel security directly. Billet BMX Deez Nuts 12-point aluminum axle nuts are the straightforward first upgrade for any build.
Q: How do I know if my BMX headset needs replacing?
Apply your rear brake and rock the bike forward and back. Any knocking or movement felt through the bars means the headset bearings need adjustment or replacement before your next session.
Q: Is it safe to ride a BMX bike in the rain?
Yes, with precautions. Wipe rims before riding for better brake performance, run slightly lower tire pressure for grip, and clean and lubricate your chain and cables after every wet session.
Q: How long does a BMX chain last before needing replacement?
With regular cleaning and lubrication, a quality chain lasts one to two seasons of consistent riding. Replace it when you notice skipping under load or visible stretch and wear on individual links.


