
You're coming into a gap, the landing is tighter than you planned, and your hand goes straight for the brake. Either it grabs clean and you roll away smoothly or it pulls soft, does nothing useful, and your foot hits the ground doing the job your brake should've done. That moment right there? That's a brake problem, not a riding problem.
.jpg)
The best BMX brakes aren't about raw clamping force. They're about response, feel, and consistency, a setup that does exactly what you ask, every single time. Here's everything worth knowing in 2026.
U-Brake or V-Brake — Get This Right Before You Buy Anything
This is the first decision, and getting it wrong means a return shipping label and wasted time.
Freestyle BMX bikes run U-brakes. Race BMX bikes run V-brakes. These two systems are not interchangeable; the mounts on your frame determine which one fits, full stop. Before you even start browsing, flip your bike over and look at the seat stays. If the brake mounts sit underneath the seat stays or on the chainstays, you're running a U-brake frame. If the mounts sit on top of the seat stays, that's a V-brake setup built for racing.
The U-brake is what the vast majority of riders are working with. It mounts with a low profile, clears pegs on grinds without interference, and gives you reliable modulation through technical riding. The straddle cable system means the clamping force is well-distributed and easy to adjust. It's the setup that suits street, park, and dirt without compromise.
V-brakes offer more outright stopping power and are the right tool for race frames where you need to scrub speed fast coming into a turn. But that extra power comes at the cost of the clean, controlled feel that freestyle riding demands. Put a V-brake on a freestyle frame and you'll either have brakes that grab too hard or sit on a frame that doesn't have the mounts to take them anyway.
Why Your Rear Brake Is the Only One That Really Matters
Here's something most new riders don't know until someone tells them the majority of BMX riders don't run a front brake at all. And that's not reckless. It's practical.
A front brake on a freestyle setup creates cable management problems for barspins, adds weight to the front end, and introduces the very real risk of the front wheel locking unexpectedly and throwing you over the bars. Most experienced riders ditch the front brake early and never miss it.
What that means is your BMX rear brake kit is carrying the full load. When one brake is doing everything, it needs to be dialed. A rear brake that feels spongy, requires a full fist squeeze before it engages, or pulls inconsistently through lever travel isn't just annoying, it's genuinely unsafe on street terrain where stopping distance matters.
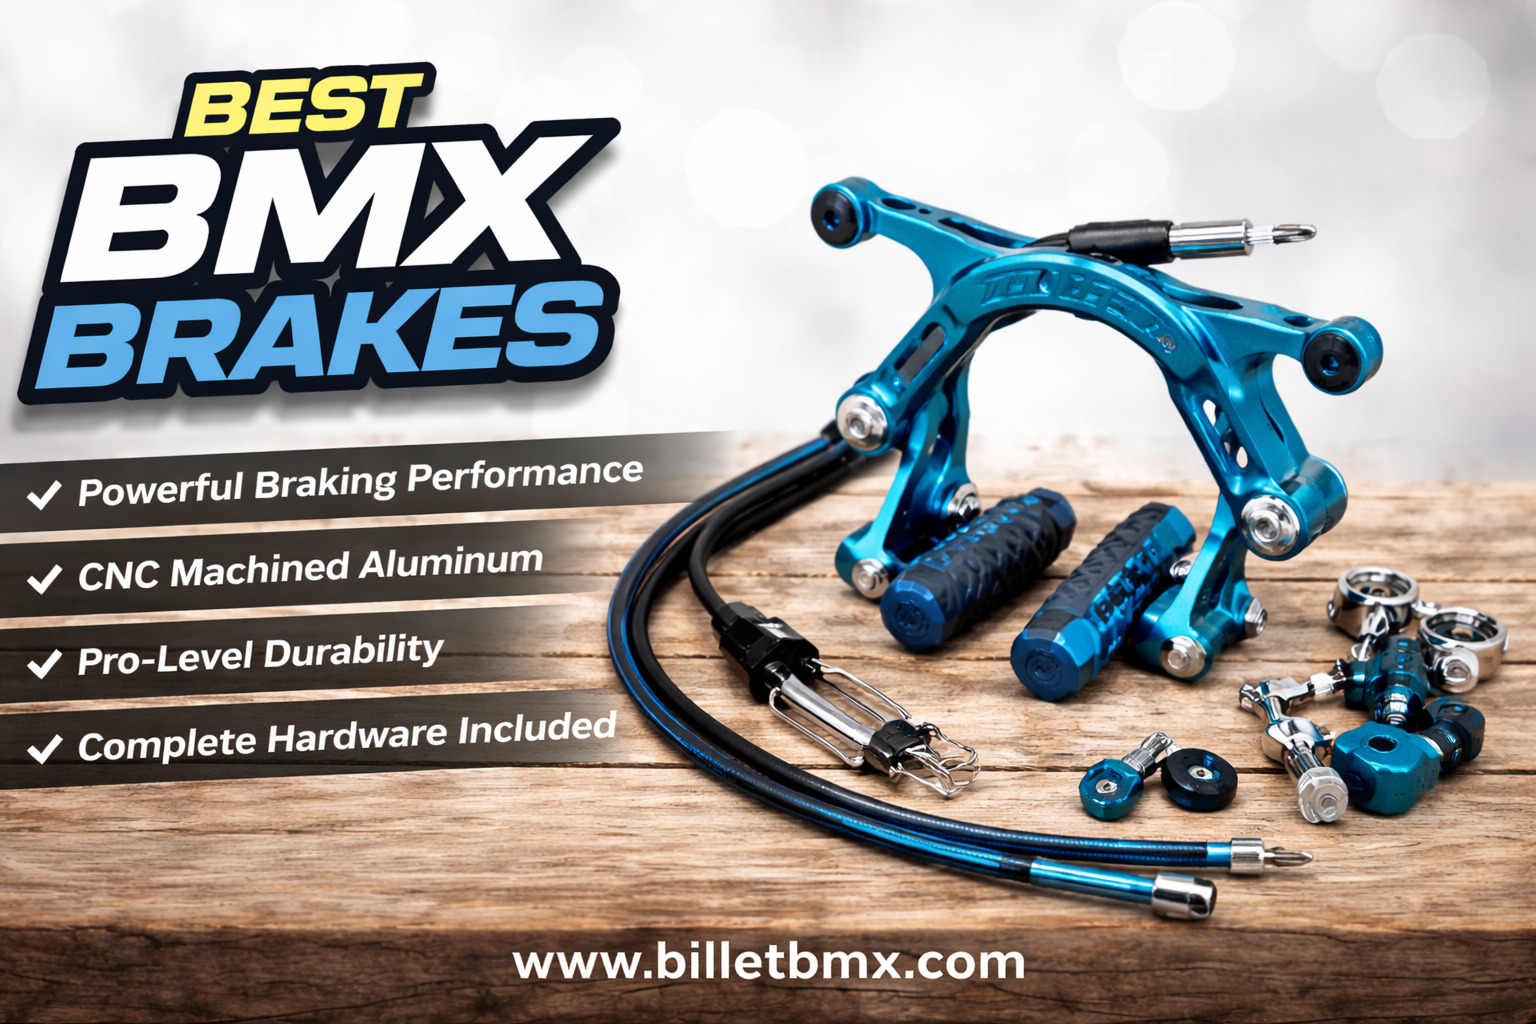
A complete rear brake kit gives you everything together: brake arms, lever, cable, housing, pads, and hardware so you're not hunting individual components to piece a setup together. For most freestyle riders in 2026, this is the only brake setup you need. Run it well and it handles everything.
The Gyro Question - Should You Run One
If barspins and tailwhips are a regular part of your riding and you want to keep a functioning brake, you need to understand how a gyro works before deciding.
A gyro sits under your stem and splits the brake cable into two separate runs one to each side of the brake arm. The mechanism allows your bars to rotate fully in either direction without the cable wrapping around itself. So you can throw a full barspin, catch, and still have a working rear brake ready when you need it. Clean solution to a real problem.
The catch is your frame needs gyro holes drilled into the headtube to run one. Most modern freestyle frames have them. If yours does, a gyro-compatible rear brake kit is one of the cleaner ways to run brakes on a trick-focused setup. If your frame doesn't have the holes, a cable detangler is your alternative not as clean, but functional.
For riders who only do occasional barspins or don't mind routing the cable carefully, you can run without a gyro. But if spinning bars is a core part of your sessions, the gyro setup removes the frustration entirely.
What Actually Separates a Good Brake Kit from a Bad One
Not all brake kits are the same quality, and the differences show up fast under real riding conditions. Here's what matters and what to ignore.
Material is where it starts. CNC-machined aluminum is the right call, strong, light, and it doesn't rust when it gets wet. Budget kits use stamped steel hardware that adds weight you don't need and corrodes after a season of outdoor riding. The arms on a machined aluminum brake feel noticeably stiffer under hard braking, which translates directly to better modulation and feel through the lever.
Cable quality is where cheap kits fall apart first. Linear cables built from parallel straight steel strands give you a smooth, consistent pull from the moment you squeeze to the moment you release. Non-linear cables feel slightly vague and spongy, especially under hard stops.
Any serious BMX rear brake kit should include linear cable housing as standard. If it doesn't specify, assume it doesn't have it and factor that into your decision.
Brake pads matter more than most riders give them credit for. Softer clear pads bite harder and give you more immediate stopping response, great for street riding where you want quick, confident engagement. Colored pads are slightly quieter and more consistent over longer sessions, better if you're riding all day and want the feel to stay predictable from the first run to the last.
Rim condition is the one factor that has nothing to do with the brake itself but affects performance more than almost anything else. A dirty or wet rim cuts your braking power significantly regardless of how good your setup is. Wipe your rims down before a session and you'll feel an immediate improvement. It
Why Billet BMX Stands Out for Brakes
Billet BMX approaches their brake lineup the same way they approach every part they make machined properly, built to last, no corners cut on material quality.
Their U-brake sets are CNC-machined aluminum with an anodized finish that isn't just there to look clean. Anodizing creates a harder surface layer on the aluminum that resists scratching, corrosion, and the gradual wear that makes cheaper brake arms look rough and feel loose after a season of real riding. The machining tolerances are tighter than cast or stamped alternatives, which means the pivot action stays smooth and consistent over time rather than developing slop as the hardware wears.
For race riders, the Billet BMX V-brake lineup uses aircraft-grade aluminum — the same material spec you find in components where weight and strength both matter. Lighter arms mean less rotating mass at the rear of the bike, and the advanced pad compound they run holds its performance through sprint after sprint without fading or glazing the rim surface.
What makes the Billet BMX approach genuinely different is the consistency across the range. Whether you're building a rear U-brake setup for street and park or a full V-brake race setup, the material quality and machining standard is the same. That's not something you can say about most brands where the budget line and the premium line share the same name but not much else.
Getting Your Brake Setup Right After Install
A quality brake installed badly still performs badly. The setup matters just as much as the parts.
Cable tension is the adjustment most people get wrong. Too loose and your lever travels all the way to the bar before anything engages. Too tight and the pads drag on the rim constantly, wearing down fast and adding resistance to the wheel. The right tension gives you solid engagement within the first third of lever travel, with a clean immediate release when you let go. Get this right once, run quality linear cable, and it holds that feel for months without adjustment.
Check your brake mount bolts every few rides. Vibration from riding works hardware loose over time, and a brake arm that's shifted slightly off its mount changes your pad alignment and changes how the whole setup feels. Five seconds with an Allen key every couple of sessions keeps everything where it should be.
Replace cables and pads at least twice a season if you're riding regularly. Fresh cable housing alone makes a noticeable difference in how smooth and precise the lever pull feels, something that's easy to forget when the degradation happens gradually.
FAQs: -
What's the difference between a U-brake and a V-brake on a BMX?
U-brakes suit freestyle frames for street and park. V-brakes are built for race frames needing maximum stopping power. Your frame's mounts determine which fits.
Do I need front and rear brakes on a BMX?
Most freestyle riders run rear only. It handles street, park, and tricks fine. Front brakes are common on race builds. Check your local laws first.
What comes in a BMX rear brake kit?
A complete kit includes brake arms, lever, inner cable, housing, pads, and mounting hardware. Billet BMX kits include everything needed for a full install.
Is a gyro worth running for barspins?
Yes. A gyro lets your bars spin freely without tangling the brake cable. Your frame needs gyro holes on the headtube — confirm before buying.
How often should I replace BMX brake pads?
Replace them when stopping feels weak or pads look worn near the metal holder. For street riders, that's roughly every two to three months.


