
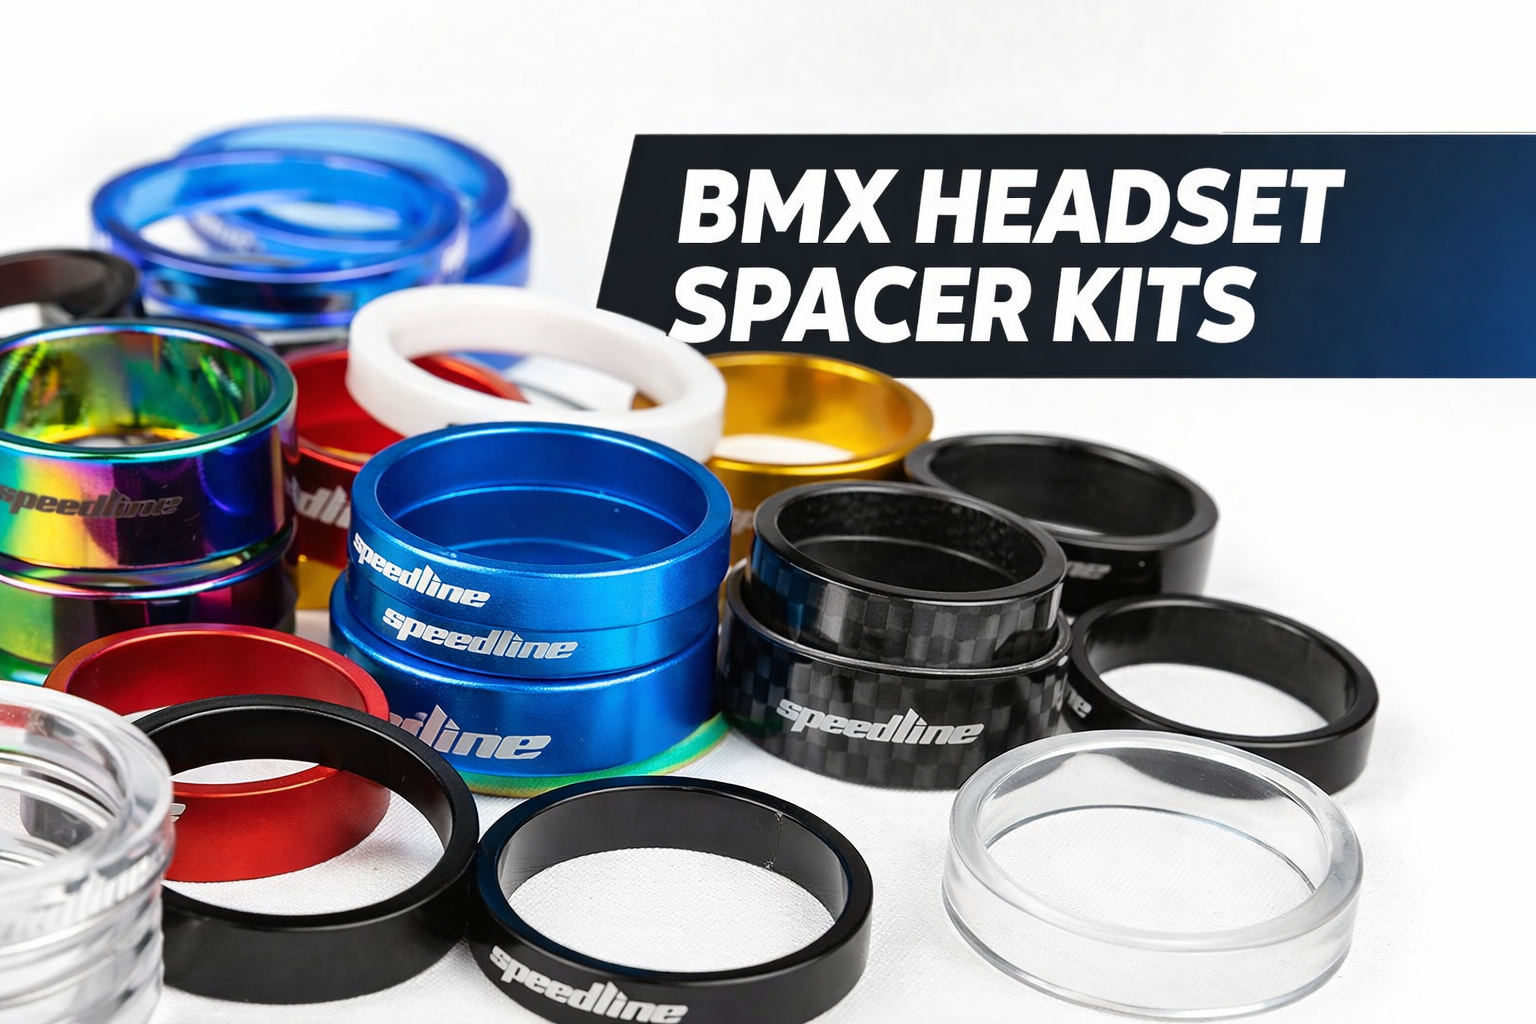
If your BMX feels slightly off - maybe your back tightens after twenty minutes, or the handling just doesn't respond the way you want - don't rush to blame the frame or the fork. Nine times out of ten, the fix is sitting right there on your steerer tube, hiding in plain sight. Bmx Headset spacer.
Most riders walk right past them at the shop. They look simple. A few small rings stacked on the fork. But once you dial in the right configuration, the difference in feel is immediate - and honestly a little surprising for something that costs less than a pizza.

What BMX Headset Spacers Actually Do (And Why Most Riders Underestimate Them)
Headset spacers are cylindrical rings - usually made from aluminum, carbon fiber, or steel - that sit on the steerer tube of your fork, above or below the stem. Their job? To control where your handlebars sit in relation to your body.
Move a few spacers around and you raise or lower the bar height. That shift changes your weight distribution, your back angle, your wrist load - everything. It's the kind of micro-adjustment that bike fitters charge good money to dial in, and you can do it yourself in ten minutes with an Allen wrench.
They typically come in thicknesses from 2mm all the way to 20mm. Stack a few, remove a few - you're building a custom riding position without touching anything permanent. That's what makes them such a smart, low-risk upgrade before you start swapping stems or handlebars.
How the Right Spacer Setup Changes Your Ride
Here's the thing - there's no universal "correct" spacer height. It depends on your riding style, your body, and what you're actually doing on the bike.
If you ride long sessions, cruise, or commute:
More spaces below the stem raises your bars. You sit more upright. Less strain on your lower back and wrists. You'll notice the difference within the first five minutes of a longer ride - that low-grade ache just doesn't show up as early.
If you're racing or doing technical freestyle:
Fewer spacers drops the bars, shifts your weight forward, and tightens up the steering response. The front wheel bites harder in corners. Acceleration feels sharper. This is the setup most BMX racers gravitate toward once they're chasing speed seriously.
For trick riders and park BMX:
A mid-height position tends to work well - enough control for technical maneuvers without putting too much strain on your body during long sessions at the park.
The point is this: your spacer configuration isn't "set it and forget it." It should evolve as your riding does.
Aluminum vs. Carbon vs. Steel - Which Spacer Should You Buy?
This matters more than most people think, especially if you're buying to upgrade rather than just replace.
Aluminum spacers are the workhorse of the three. Lightweight, corrosion-resistant, and built to handle daily abuse. For BMX - park, street, trail, or race - aluminum is the go-to. The weight savings are real, and they hold up session after session without issue.
Carbon fiber spacers are the choice if you're obsessively weight-conscious. Road cyclists love them, and some BMX race builds use them too. They're excellent but come at a premium. If every gram counts for you, they're worth it.
Steel spacers go where durability is non-negotiable. Downhill riding, heavy-impact BMX use - steel handles the abuse. Heavier, yes, but practically indestructible. If you're running pegs and grinding rails regularly, steel holds its geometry where aluminum might eventually show wear.
For most riders shopping for a solid everyday upgrade, aluminum is the sweet spot - and that's exactly where Billet BMX's headset spacer collection delivers.
How to Adjust Your Headset Spacers - The Right Way
You don't need a bike shop for this. Grab an Allen wrench and follow these steps:
- Loosen the stem bolts evenly - alternate sides so the stem releases without tilting.
- Remove the top cap - set it somewhere safe along with the bolt.
- Slide spacers on or off the steerer tube to your preferred height.
- Reinstall the top cap and snug it lightly - don't fully tighten yet.
- Align the stem with your front wheel, then torque the stem bolts to spec.
- Final check - squeeze the front brake and rock the bike forward. No clicking or playing? You're good.
One important rule: never stack spacers above the maximum steerer tube length marked on your fork. And always leave at least a few millimeters of steerer tube above the stem - that's what the top cap compresses against to preload the headset bearings.
Why Your Bike Fit Starts Here, Not With an Expensive New Stem
Before you spend $80 on a new stem trying to fix handlebar height, spend $10 on spacers and see what happens. Seriously. The number of riders who've bought new stems - or even new forks - to solve a problem that was really just a spacer issue is embarrassingly high.
And if you want to go deeper on how spacers interact with your overall bike position, comfort, and handling dynamics, this is worth your time: The Hidden Impact of Headset Spacers on Bike Fit and Comfort. It breaks down the mechanics in clear detail - from how handlebar height affects your posture to why steering response changes when you move spacers around. Required reading if you're serious about dialing in your setup.
Common Spacer Mistakes That Kill Your Ride (And How to Avoid Them)
Stacking too many spacers past the fork's max steerer length. This is a safety issue, not just a performance one. Check your fork spec before stacking.
Uneven spacer placement. Always use properly sized spacers on the same steerer. Mixing wildly different thicknesses or materials can create uneven load distribution.
Skipping the preload check. Tighten the stem bolts before you properly preload the headset via the top cap, and you'll end up with a loose, clicking headset. Order matters: top cap first, then stem bolts.
Ignoring the feel after changes. After any spacer adjustment, take a few laps before committing. Your body takes a minute to register the new position.
Ready to Upgrade? Here's Where to Start
If you've been riding with the stock spacers that came on your bike, chances are they were chosen for assembly convenience - not your body or your riding style. Swapping them out for a quality set is one of the fastest, cheapest ways to make your BMX feel like a different bike.
Billet BMX carries a solid range of BMX headset spacers in aluminum and other materials, built for the kind of riding that actually puts components to the test. Browse the full collection, grab the thicknesses that match your setup, and start dialing in your fit the smart way.
FAQs:-
Q1: What size headset spacers do I need for my BMX?
Most BMX bikes use a 1-1/8" threadless steerer. Spacers typically range from 2mm to 20mm start with 5mm increments to test handlebar height before committing to a final setup.
Q2: Can I mix spacer materials on the same steerer tube?
Yes, but match inner diameters carefully. Mixing aluminum and steel works fine structurally -just ensure all spacers fit flush and snug without gaps or wobble between them.
Q3: How many headset spacers can I safely use?
Never exceed your fork's maximum steerer tube length. Typically, most setups use 10 - 30mm total. Always leave some steerer tube exposed above the stem for the top cap to preload.
Q4: Will changing headset spacers affect my headset bearings?
Indirectly, yes. Correct spacer stacking ensures proper top-cap preload on bearings. Too loose causes play and clicking; too tight creates binding. Adjust until the steering spins smoothly without play.
Q5: Are BMX headset spacers universal or bike-specific?
Most modern BMX bikes use a 1-1/8" threadless standard, making spacers largely universal. However, always confirm your steerer tube diameter and headset standard before purchasing new spacers.


